 How-to
How to Release Fascia Tension: A Practical Guide
Last Updated: October 23, 2026
Quick Summary
To explore self-myofascial release at home, use gentle, sustained pressure with your hands or a soft massage ball, or a comfortably positioned foam roller, holding comfortably for approximately 90 seconds per area. Combine this with natural breathing and gentle movement.
The goal isn't to force your fascia to release or chase a permanent fix. It's to explore how your body responds, improve comfort, and become more aware of recurring tension patterns.
Table of Contents
- Understanding Fascia and Why It Gets Tight
- Symptoms of Tight Fascia You Might Recognize
- Self-Myofascial Release Techniques for Everyday Relief
- Foam Rolling for Muscle Tension: Where and How
- How Long to Apply Pressure to Each Area
- Gentle Stretching and Mobility Work
- When to Seek Professional Care
- Frequently Asked Questions
Understanding Fascia and Why It Gets Tight
Your fascia is a continuous web of connective tissue wrapping around every muscle, bone, organ, and nerve.
Fascia tightness develops for many reasons: repeated movement patterns, prolonged sitting, protective muscle guarding, even how you breathe.
Research shows that myofascial release interventions are frequently associated with short-term improvements in pain and joint outcomes.
The key insight is this: release fascia tension isn't about forcing a permanent fix.
Symptoms of Tight Fascia You Might Recognize
Tight fascia shows up differently for everyone, but certain patterns are common.
Many women experience recurring tightness in the neck, shoulders, jaw, lower back, or hips, sharp, dull, or a persistent heaviness sometimes described as feeling "locked up."
What makes fascial tension tricky is that the tight spot you feel isn't always the real problem.
Pay attention to when the tightness happens and what makes it better or worse. Does movement help? Heat?
Self-Myofascial Release Techniques for Everyday Relief
Self-myofascial release is a hands-on approach you can do yourself to address muscle tension. The goal is gentle, sustained pressure, not aggressive force.
One principle matters more than any technique: pressure should feel like a firm, tolerable ache you could hold a conversation through.
Choosing the Right Tool for the Area
Not every tool suits every body part, and matching the two is where most people go wrong. Here's a practical decision guide:
Body area | Best first tool | Pressure style | Why |
|---|---|---|---|
Base of skull and neck | Fingers or thumbs | Sustained hold, 90 seconds (or more) | Hands give instant feedback; tools are too blunt here |
Upper back between shoulder blades | Massage ball against a wall | Lean-in pressure, small movements | Wall placement lets you control load without lying on the floor |
Jaw (masseter) | Fingertips | Very light, sustained external pressure | Allows gentle exploration without pressing inside the mouth |
Thighs and calves | Foam roller | Slow rolling with pauses | Large muscle groups tolerate broader surface pressure |
Feet | Massage ball or tennis ball | Rolling heel to toe | Small tool fits the arch and gives feedback |
Lower back | 4-inch inflatable ball, one side at a time | Gentle sustained pressure, minimal rolling | The area is delicate; a roller can apply too much force across the spine |
Hips and glutes | Massage ball or roller | Sustained pressure on tender spots | Dense tissue responds to steady, patient load |
Hands and Fingers: The Underrated First Choice
Your hands are your most accessible tool, giving direct feedback so you can adjust pressure instantly.
Start with your neck.
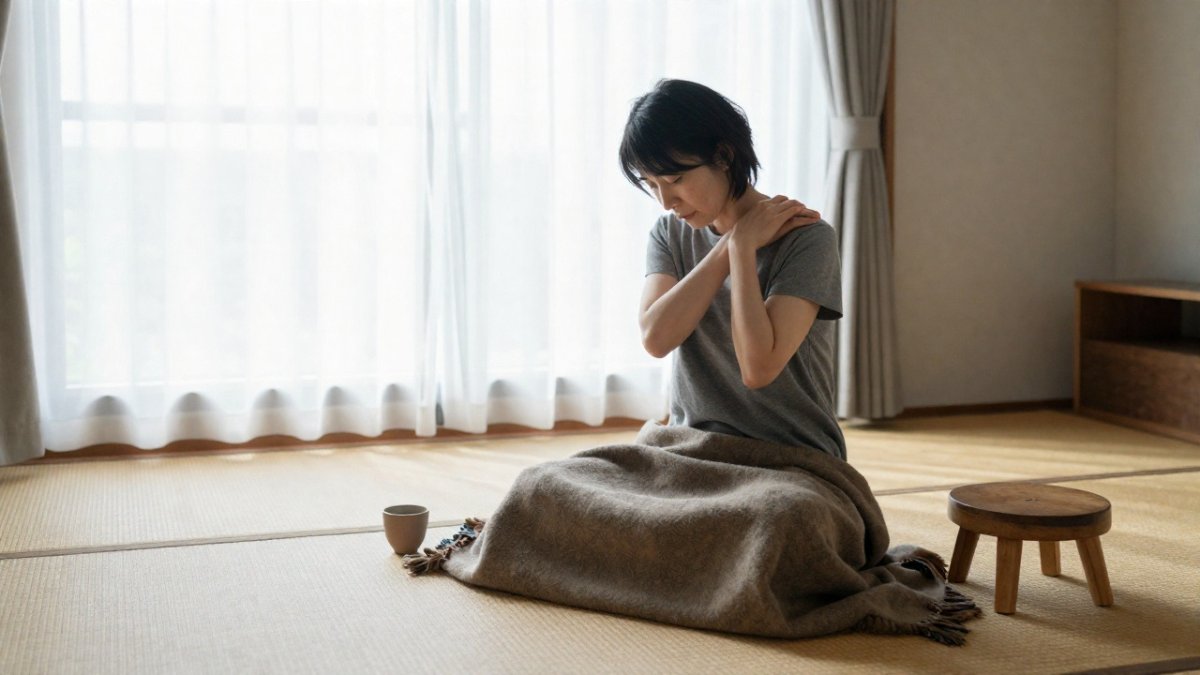
For shoulders, reach your right hand over your left shoulder and find the muscle between your neck and shoulder blade.
Jaw Tension: Rest your fingertips gently over the muscles along the sides of your jaw, just below your cheekbones. Allow your teeth to separate slightly and notice whether you're clenching. Apply very light, comfortable pressure if desired, avoiding the jaw joint itself. There's no need to dig, force your mouth open, or press inside your cheek.
Working with Tools
Simple tools extend your reach and allow consistent pressure without hand fatigue. A foam roller, massage ball, or tennis ball works.
A massage ball works well for feet. Sit in a chair, place the ball under your foot, and roll from heel to toe, pausing on tender areas.
For upper back, place a massage ball between your back and a wall. Lean into it gently and hold pressure on tender spots.

A Simple Beginner Sequence
You don't need to address every tight spot in one session. Start with a few comfortable movements and one or two areas of gentle, sustained pressure.
Minutes 0–2: Ground and Notice
Sit or stand comfortably. Notice your breathing, how your feet contact the floor, and where you're holding tension.
Minutes 2–5: Upper Back Release
Place a soft massage ball between your upper-back muscles and a wall, avoiding your spine and shoulder blades. Gently lean into the ball and maintain comfortable pressure for approximately 90 seconds on each side.
Minutes 5–8: Glute Release
Using a soft massage ball against a wall, explore the muscular area of your glutes. Hold gentle pressure for approximately 90 seconds on each side, avoiding bony areas and any spot that causes radiating discomfort.
Minutes 8–10: Recheck
Put the ball aside. Move your shoulders, shift your weight, or walk around for a moment.
Notice whether anything feels different.
No dramatic release required. We're collecting information, not trying to win a wrestling match with your fascia.
How to Tell Whether It's Working
Relief from self-myofascial release is usually temporary, and that's normal. Look for a pattern, not a miracle. A few simple measures help you judge whether a technique is worth keeping:
- Comfort: Does the area feel easier for the next few hours?
- Range of motion: Can you turn your head or reach a little further than before?
- Next-day response: Do you feel better, the same, or sore and worse? Mild soreness that fades within a day is common; sharp pain or worsening symptoms mean back off.
If a technique consistently leaves you sorer or more restricted, it isn't the right tool for your body right now. Adjust the pressure, shorten the duration, or try a different area. Curiosity beats force every time.
Foam Rolling for Muscle Tension: Where and How
Foam rollers can be wonderful tools for gentle, sustained myofascial release. Rather than repeatedly rolling back and forth, try positioning the roller comfortably beneath the area you're working with and allowing your body to settle into the pressure.
For many areas, a bed or couch can provide a more comfortable starting point than the floor. Use pillows to support the rest of your body so you're not straining to maintain the position.
The goal is comfortable, sustained pressure for approximately 90 seconds, not forcing your weight into the roller or chasing the most tender spot.
The best approach is slow, deliberate rolling, not fast repetitive movements. When you find a tender spot, pause and breathe. Let the pressure work without forcing it. Patience matters more than intensity.
Foam Rolling vs. Stretching vs. Massage: What Each Actually Does
These three approaches get lumped together, which leads people to expect the wrong thing from each. Here's a plain-language breakdown:
Approach | What it's good for | What it can't do |
|---|---|---|
Foam rolling | Broad, temporary reduction in perceived tightness; a warm-up before movement | Permanently lengthen tissue or "release" fascia |
Stretching | Exploring range of motion and tolerance at end range | Fix a structural restriction on its own |
Massage (professional) | Skilled, targeted work on areas you can't reach or load yourself | Guarantee lasting change without addressing daily habits |
None of these is a cure, and none is wasted. They overlap in offering a window of improved comfort and movement you can then use. The window matters more than the technique that opened it.
Where to Roll and Where to Skip
Upper Back: Position a foam roller horizontally beneath your upper back while resting comfortably on a bed or couch. Use pillows to support your head and the rest of your body, allowing your muscles to relax into the roller. Avoid direct pressure on your spine.
Lower Back: A soft, four-inch inflatable ball works beautifully here. Lie comfortably with your knees supported by pillows and position the ball beneath the muscles on one side of your lower back, avoiding direct pressure on the spine. Allow your body to settle gently into the ball without forcing the pressure.
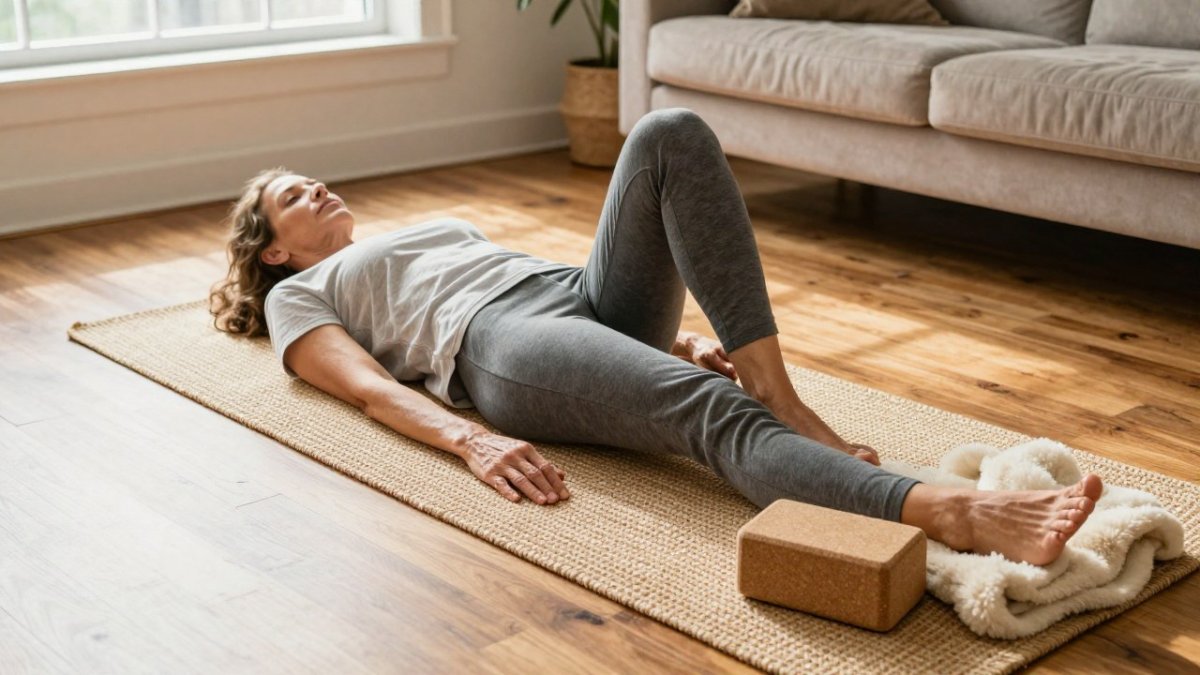
Legs: Place a foam roller beneath your thigh or calf while resting on a bed or couch. Use pillows to support the surrounding areas so your muscles aren't working to hold you in position. Rather than rolling repeatedly, find a comfortable spot and allow the weight of your leg to create gentle, sustained pressure.
For each area, aim for approximately 90 seconds of comfortable, sustained pressure. There's no need to push through pain or hunt for the most tender spot. Less force, more patience.
Realistic Expectations
A common pattern is that rolling feels great for a few hours, then the same tightness creeps back. That's not a sign you're doing it wrong.
If you find yourself needing to roll the same spot every single day just to feel normal, that's worth paying attention to. It may be a cue to look at the bigger picture: your daily movement, your workstation setup, or a conversation with a physical therapist.
When to Stop
Stop rolling and give the area a rest if you notice sharp pain, numbness or tingling that travels down a limb, dizziness, or a spot that feels bruised afterward. Persistent or worsening symptoms deserve a professional evaluation rather than more pressure.
How Long to Apply Pressure to Each Area
There's no single duration that works for everyone.
In my approach to self-myofascial release, I generally recommend approximately 90 seconds of gentle, sustained pressure per area, provided it remains comfortable.
Rather than repeatedly rolling back and forth, settle into the pressure and notice how the sensation changes.
If the pressure becomes uncomfortable, causes tingling or numbness, or makes symptoms worse, stop.
You don't need to address every tender area in one session. A few minutes of thoughtful attention can be a useful place to begin.
The key is consistency over intensity. A gentle 10 to 15 minute session a few times per week often works better than aggressive daily rolling.
Gentle Stretching and Mobility Work
Stretching plays a role in addressing fascial tension, but the approach matters.
Think of gentle stretching as exploration. Move slowly into a stretch and hold where you feel mild tension, not pain, breathing steadily.
For neck tension, slowly tilt your head toward one shoulder, feeling the stretch along the opposite side.
Shoulder tension often improves with a cross-body stretch.
For hip tightness, try a seated figure-four stretch. Sit in a chair, cross one ankle over the opposite knee, and gently lean forward until you feel a stretch in your hip and outer thigh. Hold 30 to 60 seconds and breathe.
Mobility work, moving your joints through their full range of motion, complements stretching.
When to Seek Professional Care
Self-myofascial release works well for many situations, but some symptoms warrant professional evaluation.
If pain is sharp, severe, or worsening despite your efforts, see a healthcare provider. Persistent symptoms that don't improve with gentle movement and release work deserve professional attention.
Pain following an injury or accident should be evaluated by a doctor or physical therapist.
Pregnancy, recent surgery, or certain medical conditions require modified approaches. A physical therapist can show you safe techniques tailored to your situation.
Trust your instincts. If something doesn't feel right, professional evaluation is the wise choice.
Frequently Asked Questions
What are the symptoms of tight fascia?
Tight fascia often shows up as persistent muscle stiffness, restricted range of motion, or a sensation of tightness that doesn't fully resolve with rest. You might notice recurring discomfort in specific areas like your neck, shoulders, lower back, or hips. Some people describe it as a feeling of being 'stuck' or having movement that feels limited even when you haven't done anything strenuous. These sensations can return repeatedly, which is why many women find that stretching or massage provides only temporary relief.
Can you release fascia tension yourself at home?
Yes, you can work with fascia tension using self-myofascial release techniques at home with minimal equipment. Gentle hand pressure, foam rolling, massage balls, or even a tennis ball can help reduce perceived tension and improve comfort. The key is consistent, gentle exploration rather than aggressive force. Start slowly, pay attention to how your body responds, and give yourself time to notice changes. For persistent or worsening pain, consulting a healthcare professional is wise to rule out underlying issues.
How long should you use a foam roller on a tight area?
Most research and practitioners suggest spending 15 to 30 seconds on each tender spot, or rolling slowly through a muscle group for about 1 to 2 minutes total per area. The goal isn't to spend hours on one spot but to apply sustained, gentle pressure that feels manageable. Start conservatively and adjust based on how your body feels. Some people benefit from brief sessions several times a week rather than long, intense sessions. Consistency matters more than duration.
Does stretching help with fascia tension?
Stretching can be helpful, but it works differently than self-myofascial release. Gentle, sustained stretching may improve range of motion and perceived comfort, while self-myofascial release and foam rolling target specific areas of tension. Many people find that combining both approaches—alternating between gentle stretching and self-massage techniques—works better than either alone. The key is avoiding aggressive or forced stretching, which can sometimes create more tension rather than relief.
Recurring fascial tension doesn't have to mean endless searching for temporary fixes. At Calm Library, we believe that understanding your body's patterns and learning practical release techniques gives you real agency over your comfort. Our self-paced programs combine gentle self-myofascial release, body awareness, and movement education designed specifically for women navigating recurring tension. Explore Calm Library and discover how a different approach to your body can create lasting change.